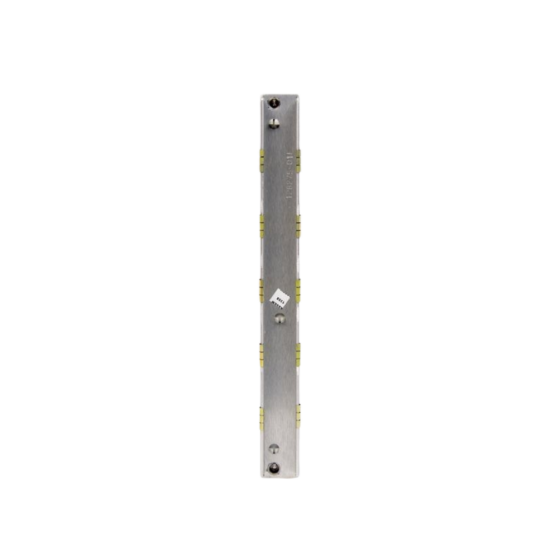
The GE DS200CTBAG1A DS200CTBAG1ADD provides screw terminal access for Mark V field wiring. This board connects external sensors and actuators to the main control system. Therefore, it simplifies cabinet wiring and future maintenance tasks.
Product Overview
We built this terminal board for organized cable management inside tight enclosures. Its modular design allows individual terminal replacement without soldering. Moreover, this unit includes identification labels for every connection point.
Technical Specifications
| Parameter | Specification |
|---|---|
| Dimensions | 35.6 cm (length) x 15.2 cm (width) |
| Weight | 0.66 kg (approximately 1.46 lb) |
| Interface Type | Single 64-pin ribbon connector plus 4 terminal strips |
| Component Count | 52 components including terminal blocks and shunt jumpers |
| Energy Storage | No capacitors or batteries on this board |
| Terminal Count | 40 screw terminals arranged in 4 rows of 10 |
| Wire Gauge Range | 26 AWG to 12 AWG for power connections |
| Terminal Type | Rising cage clamp with corrosion-resistant plating |
| Voltage Rating | 600V AC maximum between non-adjacent terminals |
| Current Rating | 20A per terminal for AWG 12 wire |
| Operating Temperature | -20°C to +80°C ambient |
Physical Layout
The GE DS200CTBAG1A DS200CTBAG1ADD places terminals in four color-coded groups. Group three uses blue terminals for digital input signals. Group four uses yellow terminals for digital output wiring. Therefore, you can identify signal types instantly by terminal color.
Circuit Routing
Each terminal connects directly to one pin on the 64-pin ribbon header. The PCB uses 2 oz copper traces for minimal voltage drop. Additionally, adjacent terminal pairs include removable shunt jumpers. You can link multiple commons together using these brass jumpers. This flexibility reduces external jumper wire requirements significantly.
Installation Method
Mount this board horizontally or vertically using four M4 screws. Position the board close to cable entry points for short wire runs. Connect the 64-pin ribbon cable to its matching control board header. Then secure the ribbon cable with its locking latches on both ends.
Termination Process
Strip each field wire to 10 mm of clean conductor length. Insert the stripped wire fully into the cage clamp opening. Tighten the screw until you feel the clamp grip the wire firmly. Pull each wire lightly to confirm a secure mechanical connection. Finally, apply the supplied adhesive label showing the terminal designation.
Signal Allocation Plan
Terminals 1 through 8 connect to 4-20 mA loop-powered transmitters. Always verify voltage ratings before connecting any power circuits.
Maintenance Access
You can replace individual terminal blocks without removing the entire board. Insert a small screwdriver into the release slot at each end. Pry gently to lift the terminal block off its PCB mounting pins. Then snap a new terminal block into the same location. The GE DS200CTBAG1A DS200CTBAG1ADD supports hot swapping of terminal blocks only.


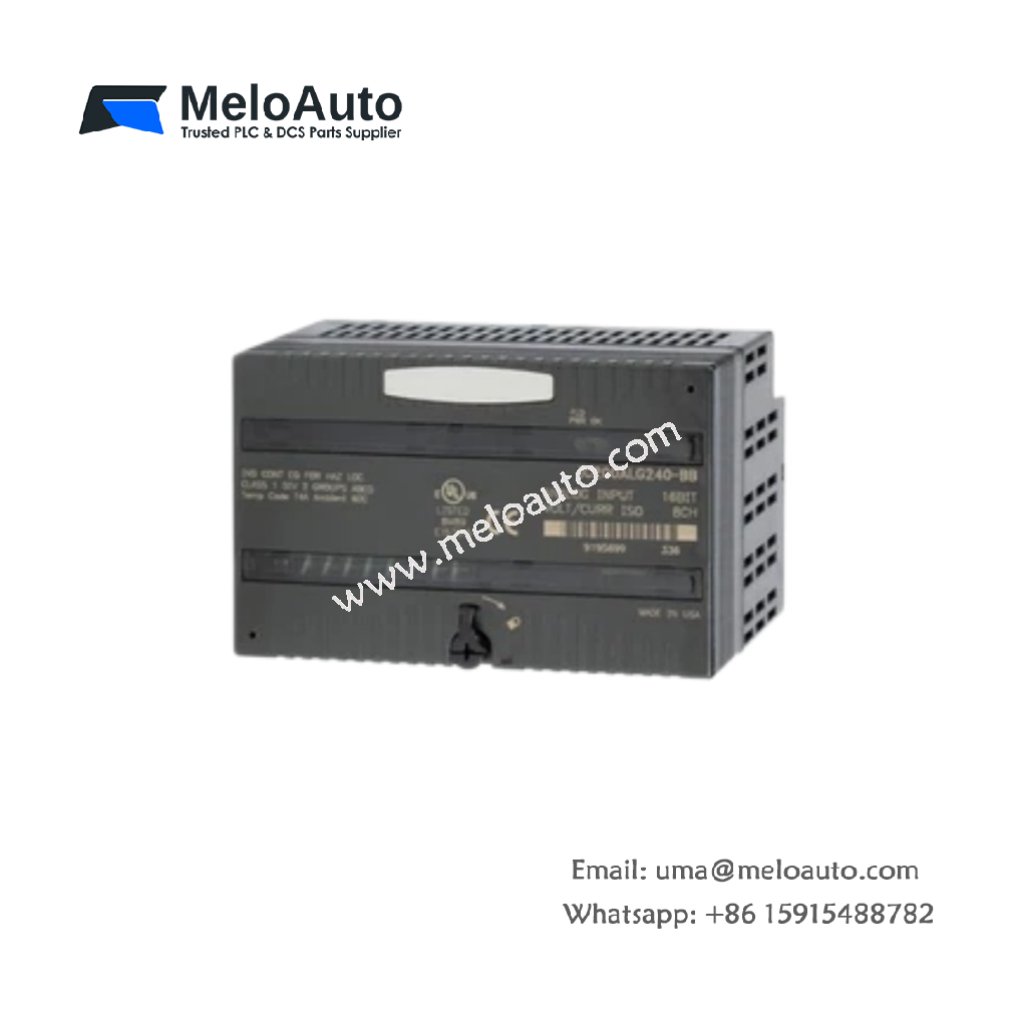
 Analog I/O Module")


WeChat
Scan the QR Code with wechat