
The GE DS200CTBAG1A DS200CTBAG1ACC organizes field wiring connections for Mark V systems. This board provides screw terminals for all external signal and power cables. Therefore, it eliminates messy wire bundles inside the control cabinet.
Product Overview
We designed this terminal board as a clean interface between field devices and electronic modules. Its barrier strips accept wires up to 14 AWG for power connections. Moreover, this unit includes labeling areas for each terminal position.
Technical Specifications
| Parameter | Specification |
|---|---|
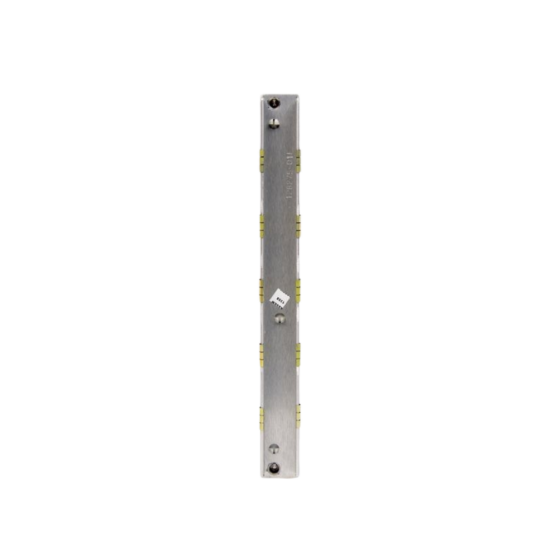
| Dimensions | 35.6 cm (length) x 15.2 cm (width) |
| Weight | 0.65 kg (approximately 1.43 lb) |
| Interface Type | Single 64-pin ribbon cable plus 4 barrier terminal strips |
| Component Count | 48 components including terminal blocks and jumpers |
| Energy Storage | No onboard energy storage components |
| Terminal Count | 40 screw terminals arranged in 4 rows of 10 |
| Wire Gauge | 30 AWG to 14 AWG solid or stranded |
| Terminal Pitch | 6.35 mm (0.25 inches) standard spacing |
| Voltage Rating | 300V AC maximum between any two terminals |
| Current Rating | 15A per terminal maximum |
| Material | UL 94V-0 rated thermoplastic housing |
Connection Architecture
The GE DS200CTBAG1A DS200CTBAG1ACC routes signals from terminal blocks to a single ribbon header. Its PCB traces follow a one-to-one mapping for easy troubleshooting. Each terminal includes a test point for meter connection. You can measure signals without disconnecting any field wires.
Energy Storage Note
This board contains no capacitors or other energy storage components. All signal filtering happens on the main control boards instead. You can handle this terminal board without any discharge delay. However, always disconnect field power before touching any terminals.
Installation Steps
Mount this board on the cabinet door or a dedicated subpanel. Use four M4 screws through the corner mounting holes. Connect the 64-pin ribbon cable from the terminal board to your control board. Then route each field wire to its assigned terminal position.
Wiring Procedure
Strip each wire to 8 mm of exposed conductor for proper insertion. Loosen the terminal screw fully before inserting the stripped wire. Tighten each screw to 0.56 Nm (5 lb-in) of torque. Give each wire a gentle tug to verify a secure connection. Finally, apply the included terminal label for future identification.
Signal Mapping
Terminals 1 through 8 carry analog inputs from field transmitters.
Maintenance Guidelines
Inspect all terminal screws annually for signs of loosening from vibration. Retighten any screw that requires more than one-eighth turn. Replace the entire board if you see any cracked insulation or burnt traces. The GE DS200CTBAG1A DS200CTBAG1ACC has no field-repairable components inside.


")


 Analog I/O Module")


WeChat
Scan the QR Code with wechat